WPC Wall Panel

About WPC Wall Panel

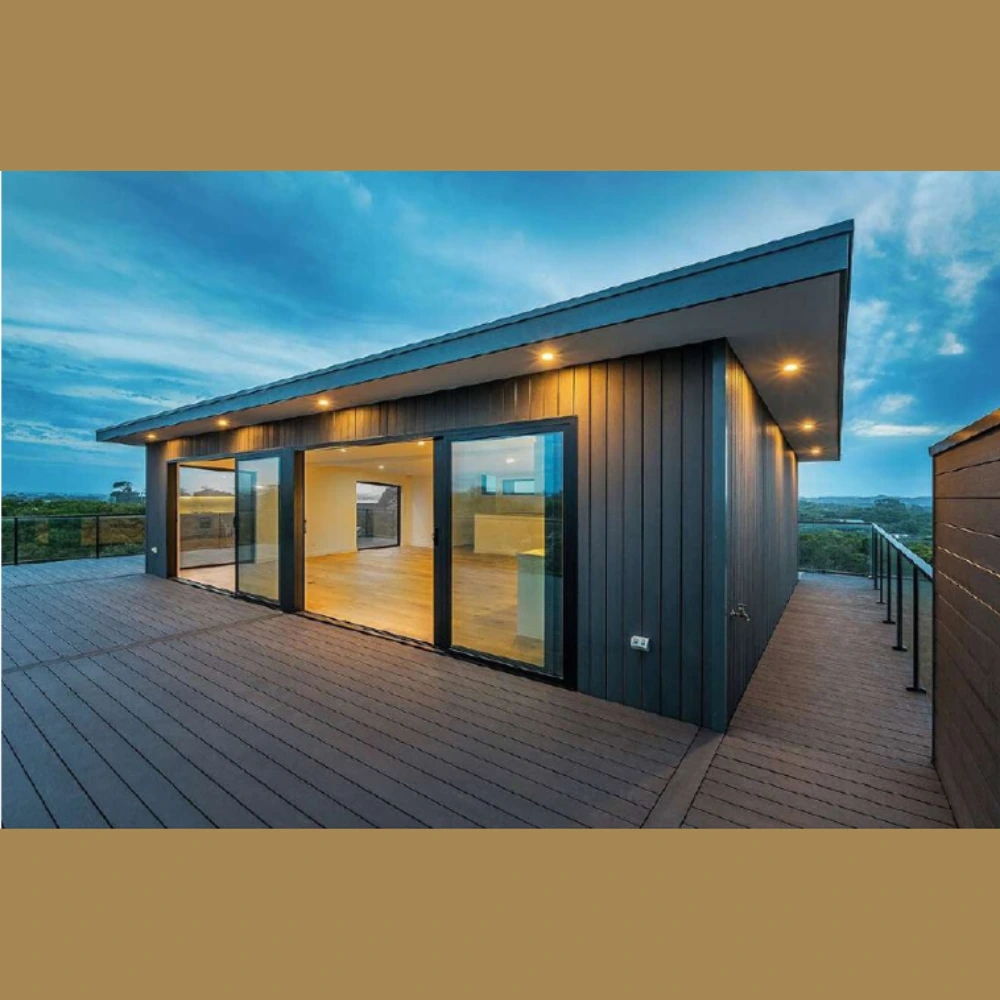
Prime Flooring’s WPC Wall Panels combine the strength of composite materials with modern design aesthetics, offering a durable and stylish solution for outdoor cladding. Designed to resist moisture, deformation, and insects, these panels ensure long-lasting performance with minimal maintenance.

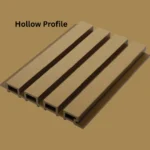
Available in hollow and 3D embossed profiles, our WPC Wall Panels enhance the exterior look of both residential and commercial buildings. With superior weather resistance and eco-friendly properties, they bring both beauty and functionality to architectural spaces.

Prime Flooring provides high-quality WPC Wall Panels in multiple designs to meet diverse exterior cladding needs. Lightweight yet sturdy, they are quick to install, easy to maintain, and deliver consistent performance in varied environments.

  • Hollow Profile: Sturdy, lightweight design with excellent coverage. Suitable for both homes and commercial projects. Warranty: 15 years.
  • 3D Embossed Profile: Realistic textures that replicate natural wood while offering enhanced weather resistance. Warranty: 15 years.

Each option comes in practical lengths and dimensions, ensuring flexibility for different project requirements while maintaining premium quality and durability.

  • Weather resistant performance without deformation.
  • Moisture-proof to prevent swelling or water damage.
  • Insect resistant to deter termites and pests.
  • Eco-friendly composite materials.
  • Modern, elegant exterior appearance.
  • Backed by a 15-year product warranty.

Technical Specifications

Profile Type Model Size (mm) Length (mm) Coverage Weight Application Warranty
Hollow Profile STC-219H26 219 × 26 2200 / 2900 5 m board per m² 3.6 kg per board Outside commercial and domestic buildings 15 years
3D Embossed ST-219H28 219 × 28 2200 / 2900 5 m board per m² 3.6 kg per board Outside commercial and domestic buildings 15 years

Installation Instructions

  • Leave a 3–5 mm expansion gap from adjacent structures.
  • Pre-drill joists or battens before fixing expansion screws.
  • Maintain joist/batten spacing of 25–30 cm.
  • Fix expansion screws at 400–500 mm intervals.
  • Ensure proper drainage and ventilation behind panels.

Panel Installation

  • Fix starter clips along the first joist/batten line.
  • Insert the first wall panel into the starter clips.
  • Insert hidden clips into the panel groove and fasten to the joist (do not overtighten).
  • Fit the next panel into the clips and continue row by row.
  • After alignment, fully tighten the clips and screws and repeat.
  • Finish with corner edging and trim for a neat appearance.
  • Clean regularly with mild soap and water to remove dust and stains.
  • Use a soft brush or cloth; avoid harsh chemicals and abrasive tools.
  • Keep drainage and ventilation gaps clear of debris.
  • Periodically check clips and screws and re-tighten if required.
  • For minor scratches or marks, gently sand the affected area.

Quick Enquiry